Getting started
Installation
Install from PyPI in the environment of your choice (e.g. venv, conda):
pip install napari-track-edit
Currently, napari-track-edit requires Python >=3.11. For example, to create a new environment with conda:
conda create -n napari_track_edit python=3.11
conda activate napari_track_edit
pip install napari-track-edit
pip install pyqt6
Recommended extras
For better performance, you can install optional extras:
numba: Speeds up candidate graph construction significantly.:
pip install napari-track-edit[numba]
gurobi: Uses the Gurobi solver instead of the default open-source solver. Gurobi is much faster but requires a license (free for academics).:
pip install napari-track-edit[gurobi]
You can install multiple extras at once: pip install napari-track-edit[numba,gurobi]
Gurobi license version mismatch
If you have a Gurobi license and encounter an error about license version mismatch,
you may need to install a specific version of gurobipy that matches your license.
Use one of the version-specific extras:
pip install napari-track-edit[gurobi12]  # For Gurobi 12.x licenses
pip install napari-track-edit[gurobi13]  # For Gurobi 13.x licenses
If the installation is successful, you can then run napari from your command line, and
Napari Track Edit should be visible in the Plugins drop down menu.
Clicking Open all widgets should open the menu widgets on the right of the viewer,
and a lineage tree view in the bottom of the viewer. It is normal that it takes a
minute to load if this is the very first time you start napari-track-edit in a new napari
environment.
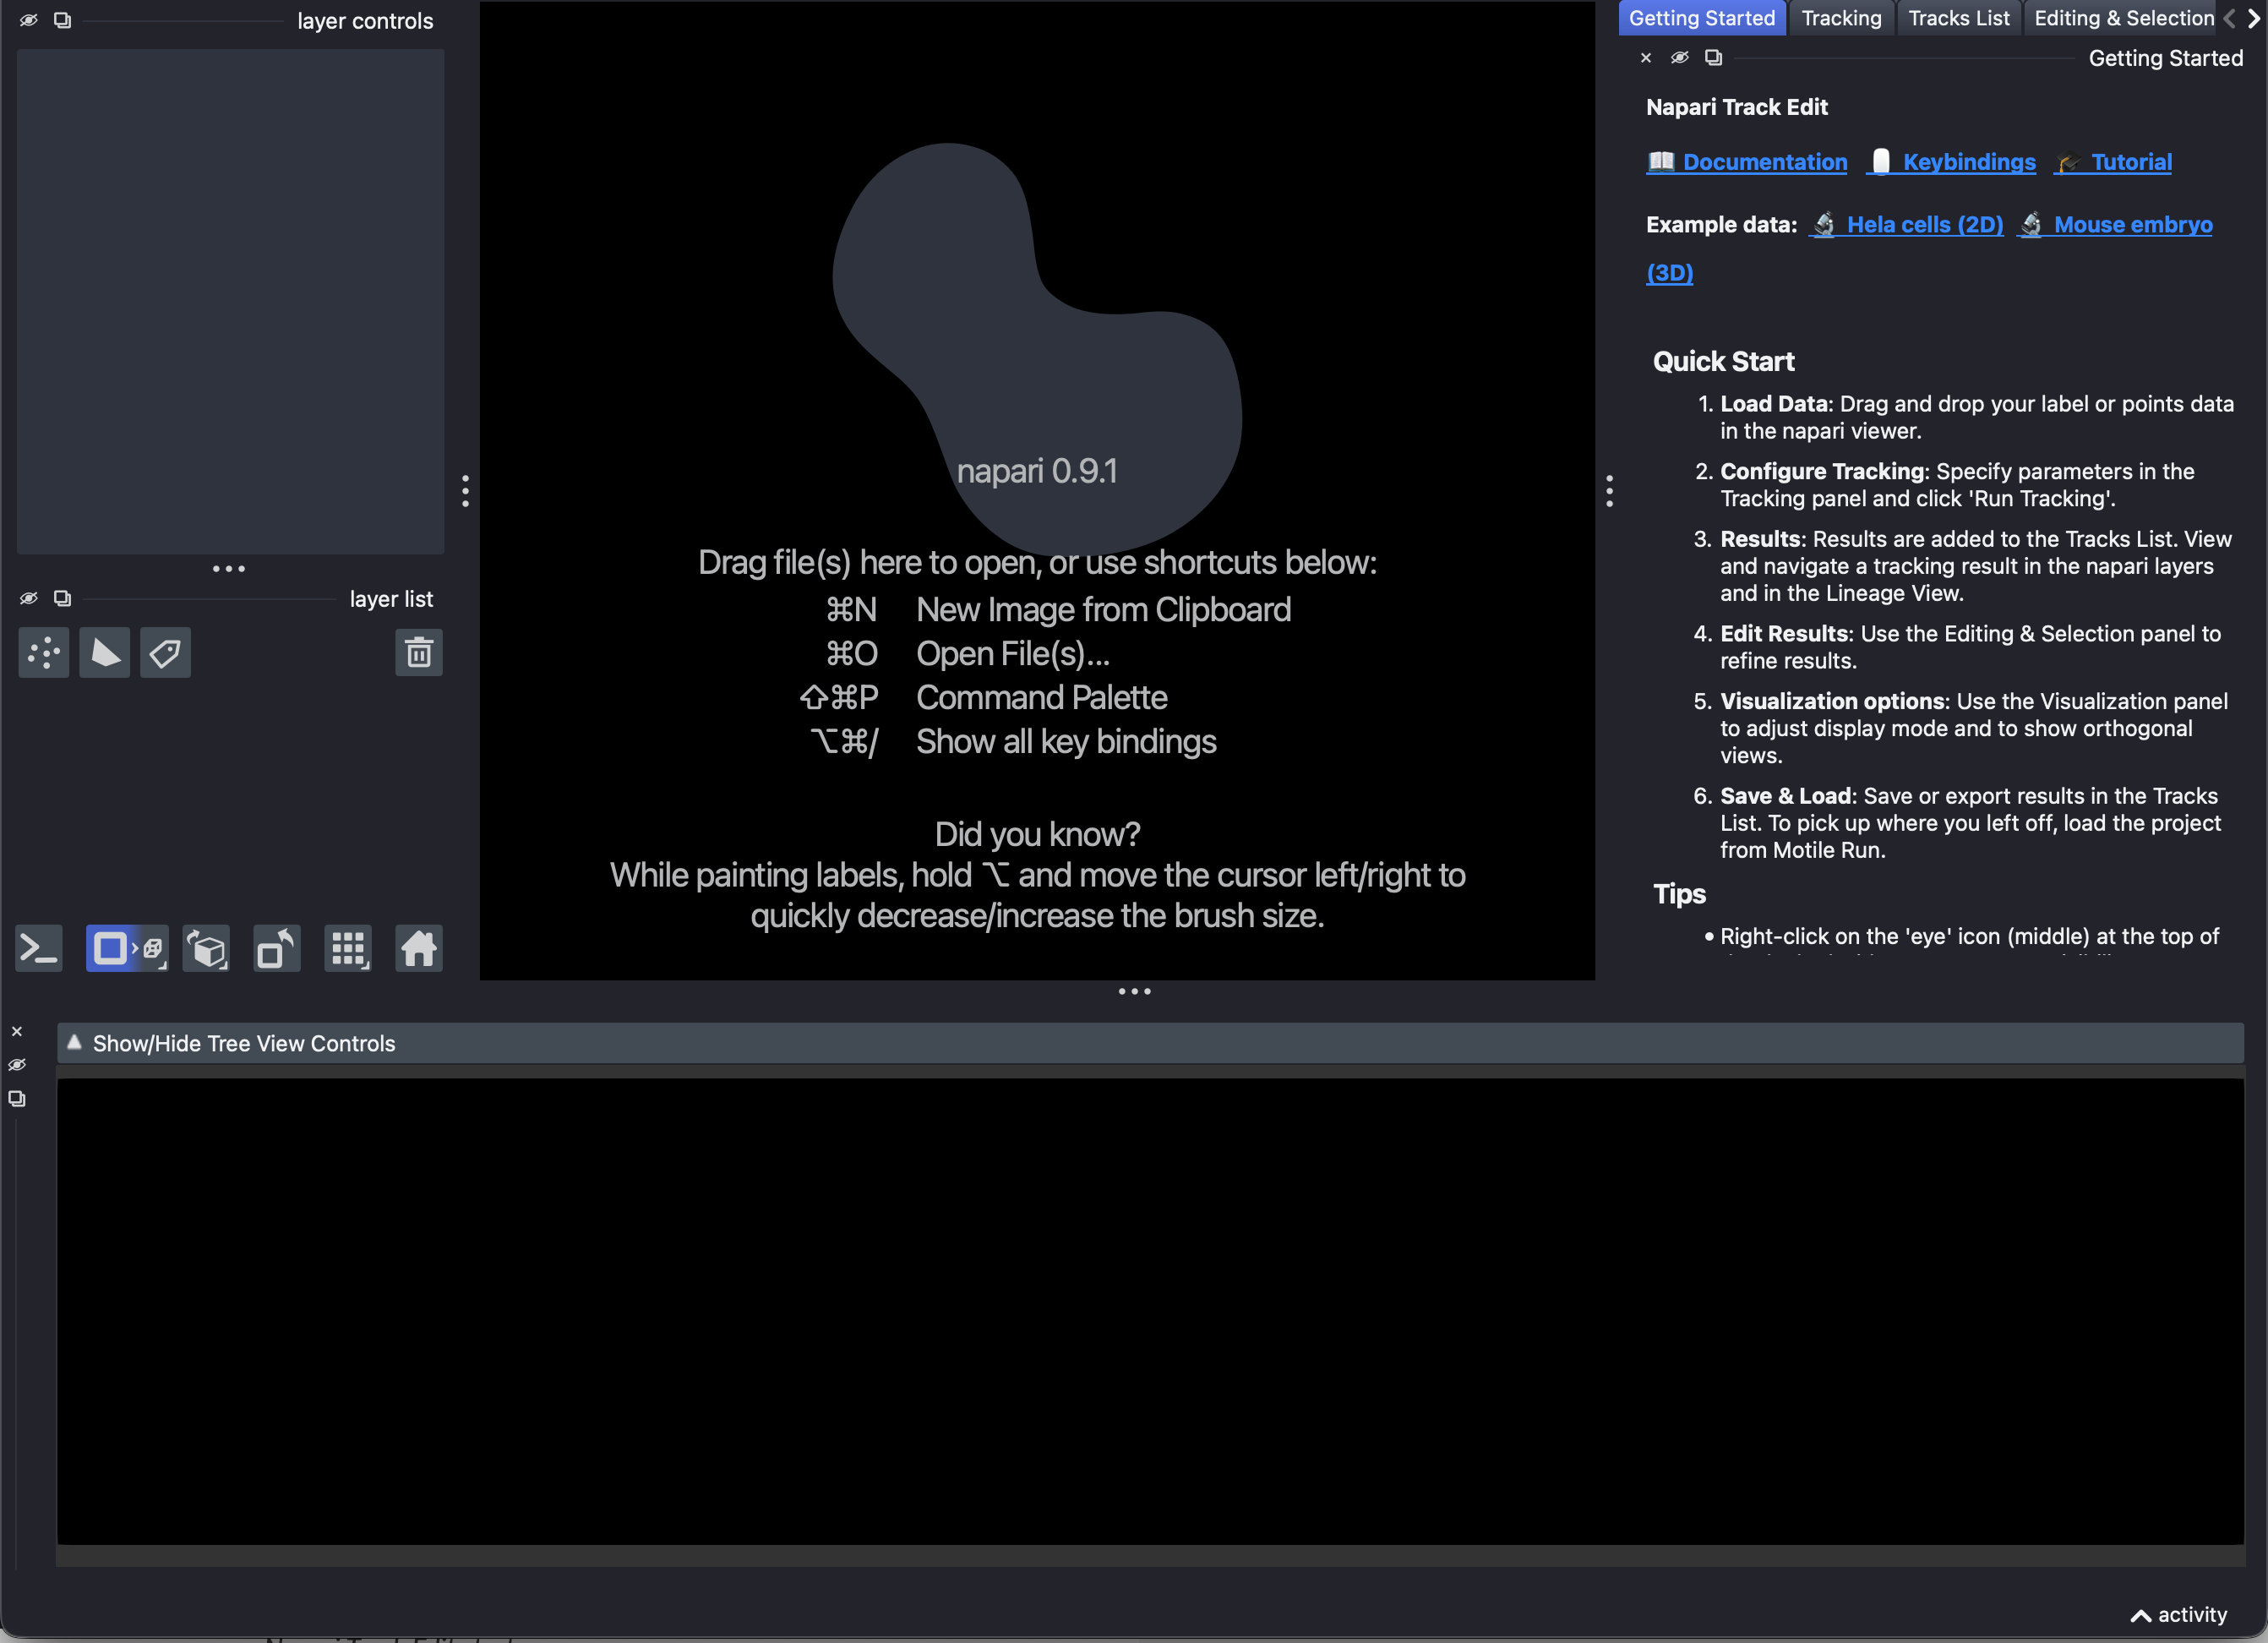
Napari Track Edit startup screen.
Plugin layout
Napari Track Edit comes with several widgets for tracking, viewing, and editing.
All widgets are listed under Plugins > Napari Track Edit, where you can open
them all at once via Open all widgets, or (re)open them individually:
Getting started: links to the documentation and tutorial, and the example tracks.Tracking: create new tracks, automatically or manually.Tracks List: all tracks currently in memory, and saving, loading, importing and exporting them.Editing & Selection: edit tracks and navigate the node selection.Visualization: display options for the napari layers.Features: measure object features.Groups: create groups of nodes.Table: the table view of all nodes and their features.Lineage View: the lineage tree view.
You can optionally close or hide widgets via the close (x) button, or via right
mouse-click on the ‘eye’ button. Optionally, you can float individual widgets and place
them somewhere else (for example, you can move the lineage view to a secondary monitor).
If you press the / key, you can hide/show all widgets at once.
You can find an overview of all mouse and keyboard bindings on the
key bindings page.
Example data
There are three example datasets provided in File > Open Sample > Napari Track Edit:
Fluo-N2DL-HeLa (2D): a 2D dataset of images and segmentations of HeLa cells from the Cell Tracking Challenge, with both a Labels layer and a Points layer.Fluo-N2DL-HeLa crop (2D): a cropped subset of the same dataset, for testing features on smaller data.Mouse Embryo Membranes (3D): a 3D dataset of images and segmentations of a membrane-labeled developing early mouse embryo (4-26 cells) from Fabrèges et al (2024), automatically downloaded from zenodo.
Downloading the data may take a few minutes. After downloading, the data remains available in the plugin for re-use.
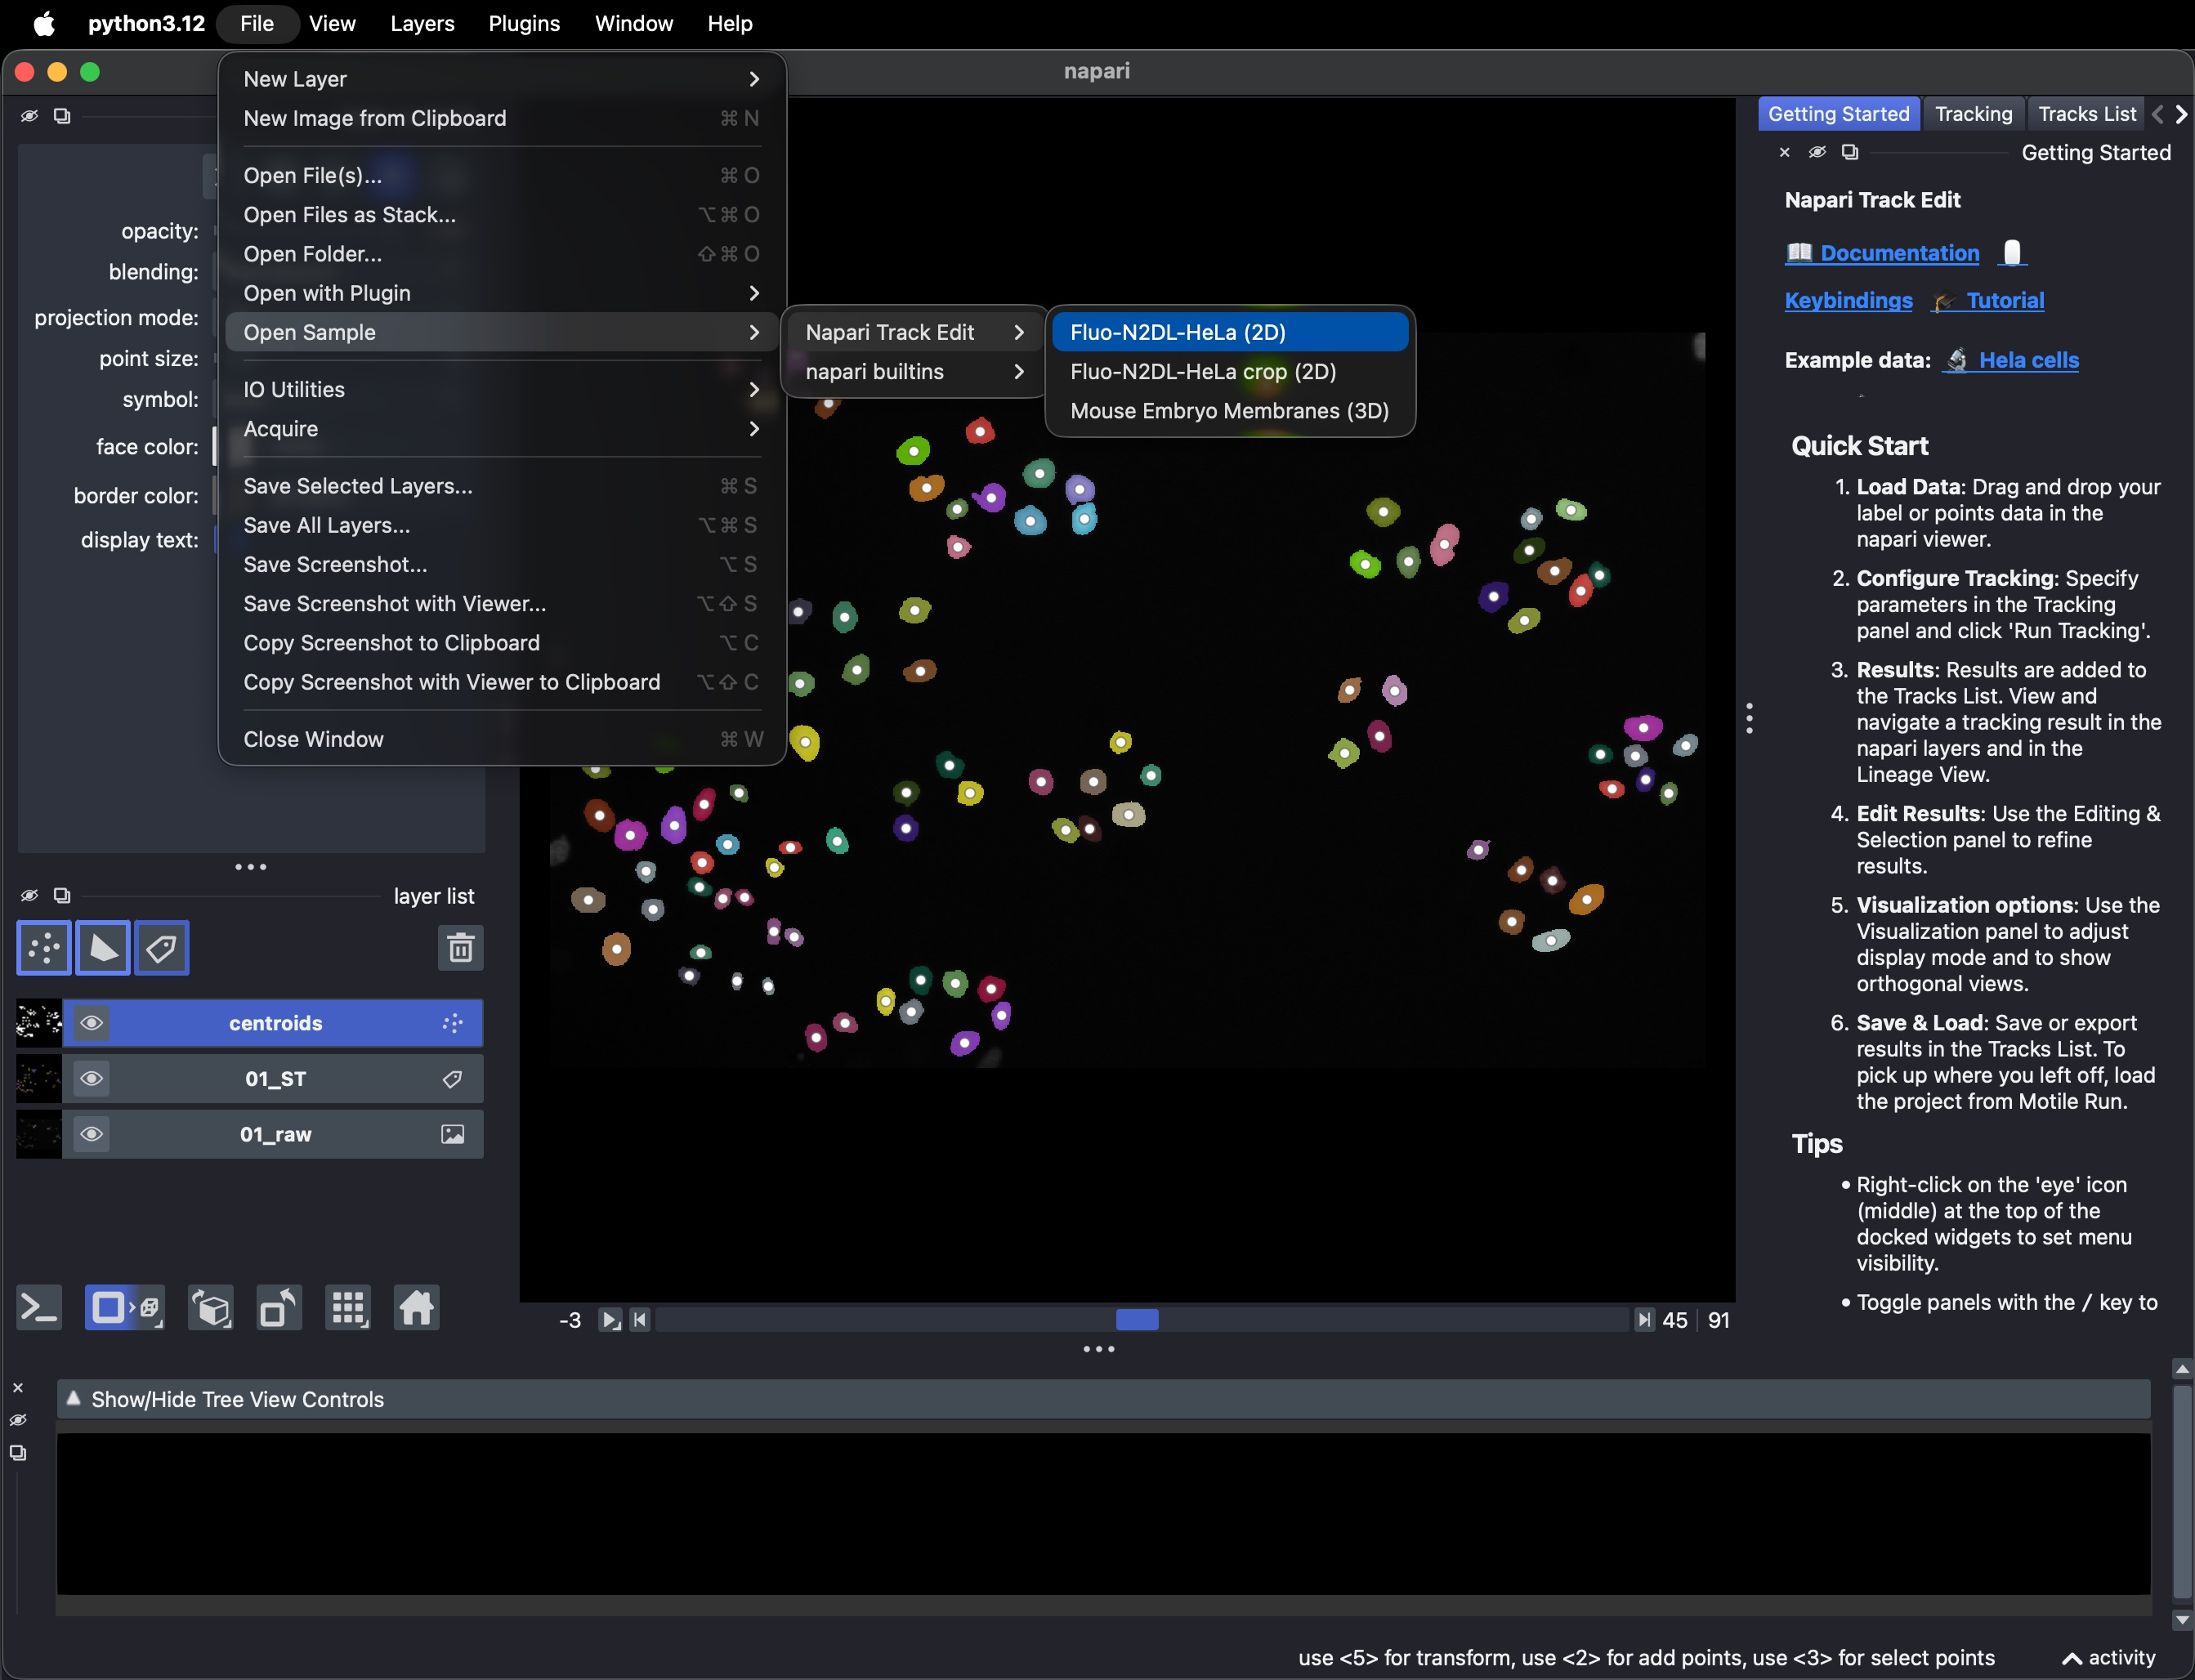
Fluo-N2DL-HeLa (2D)
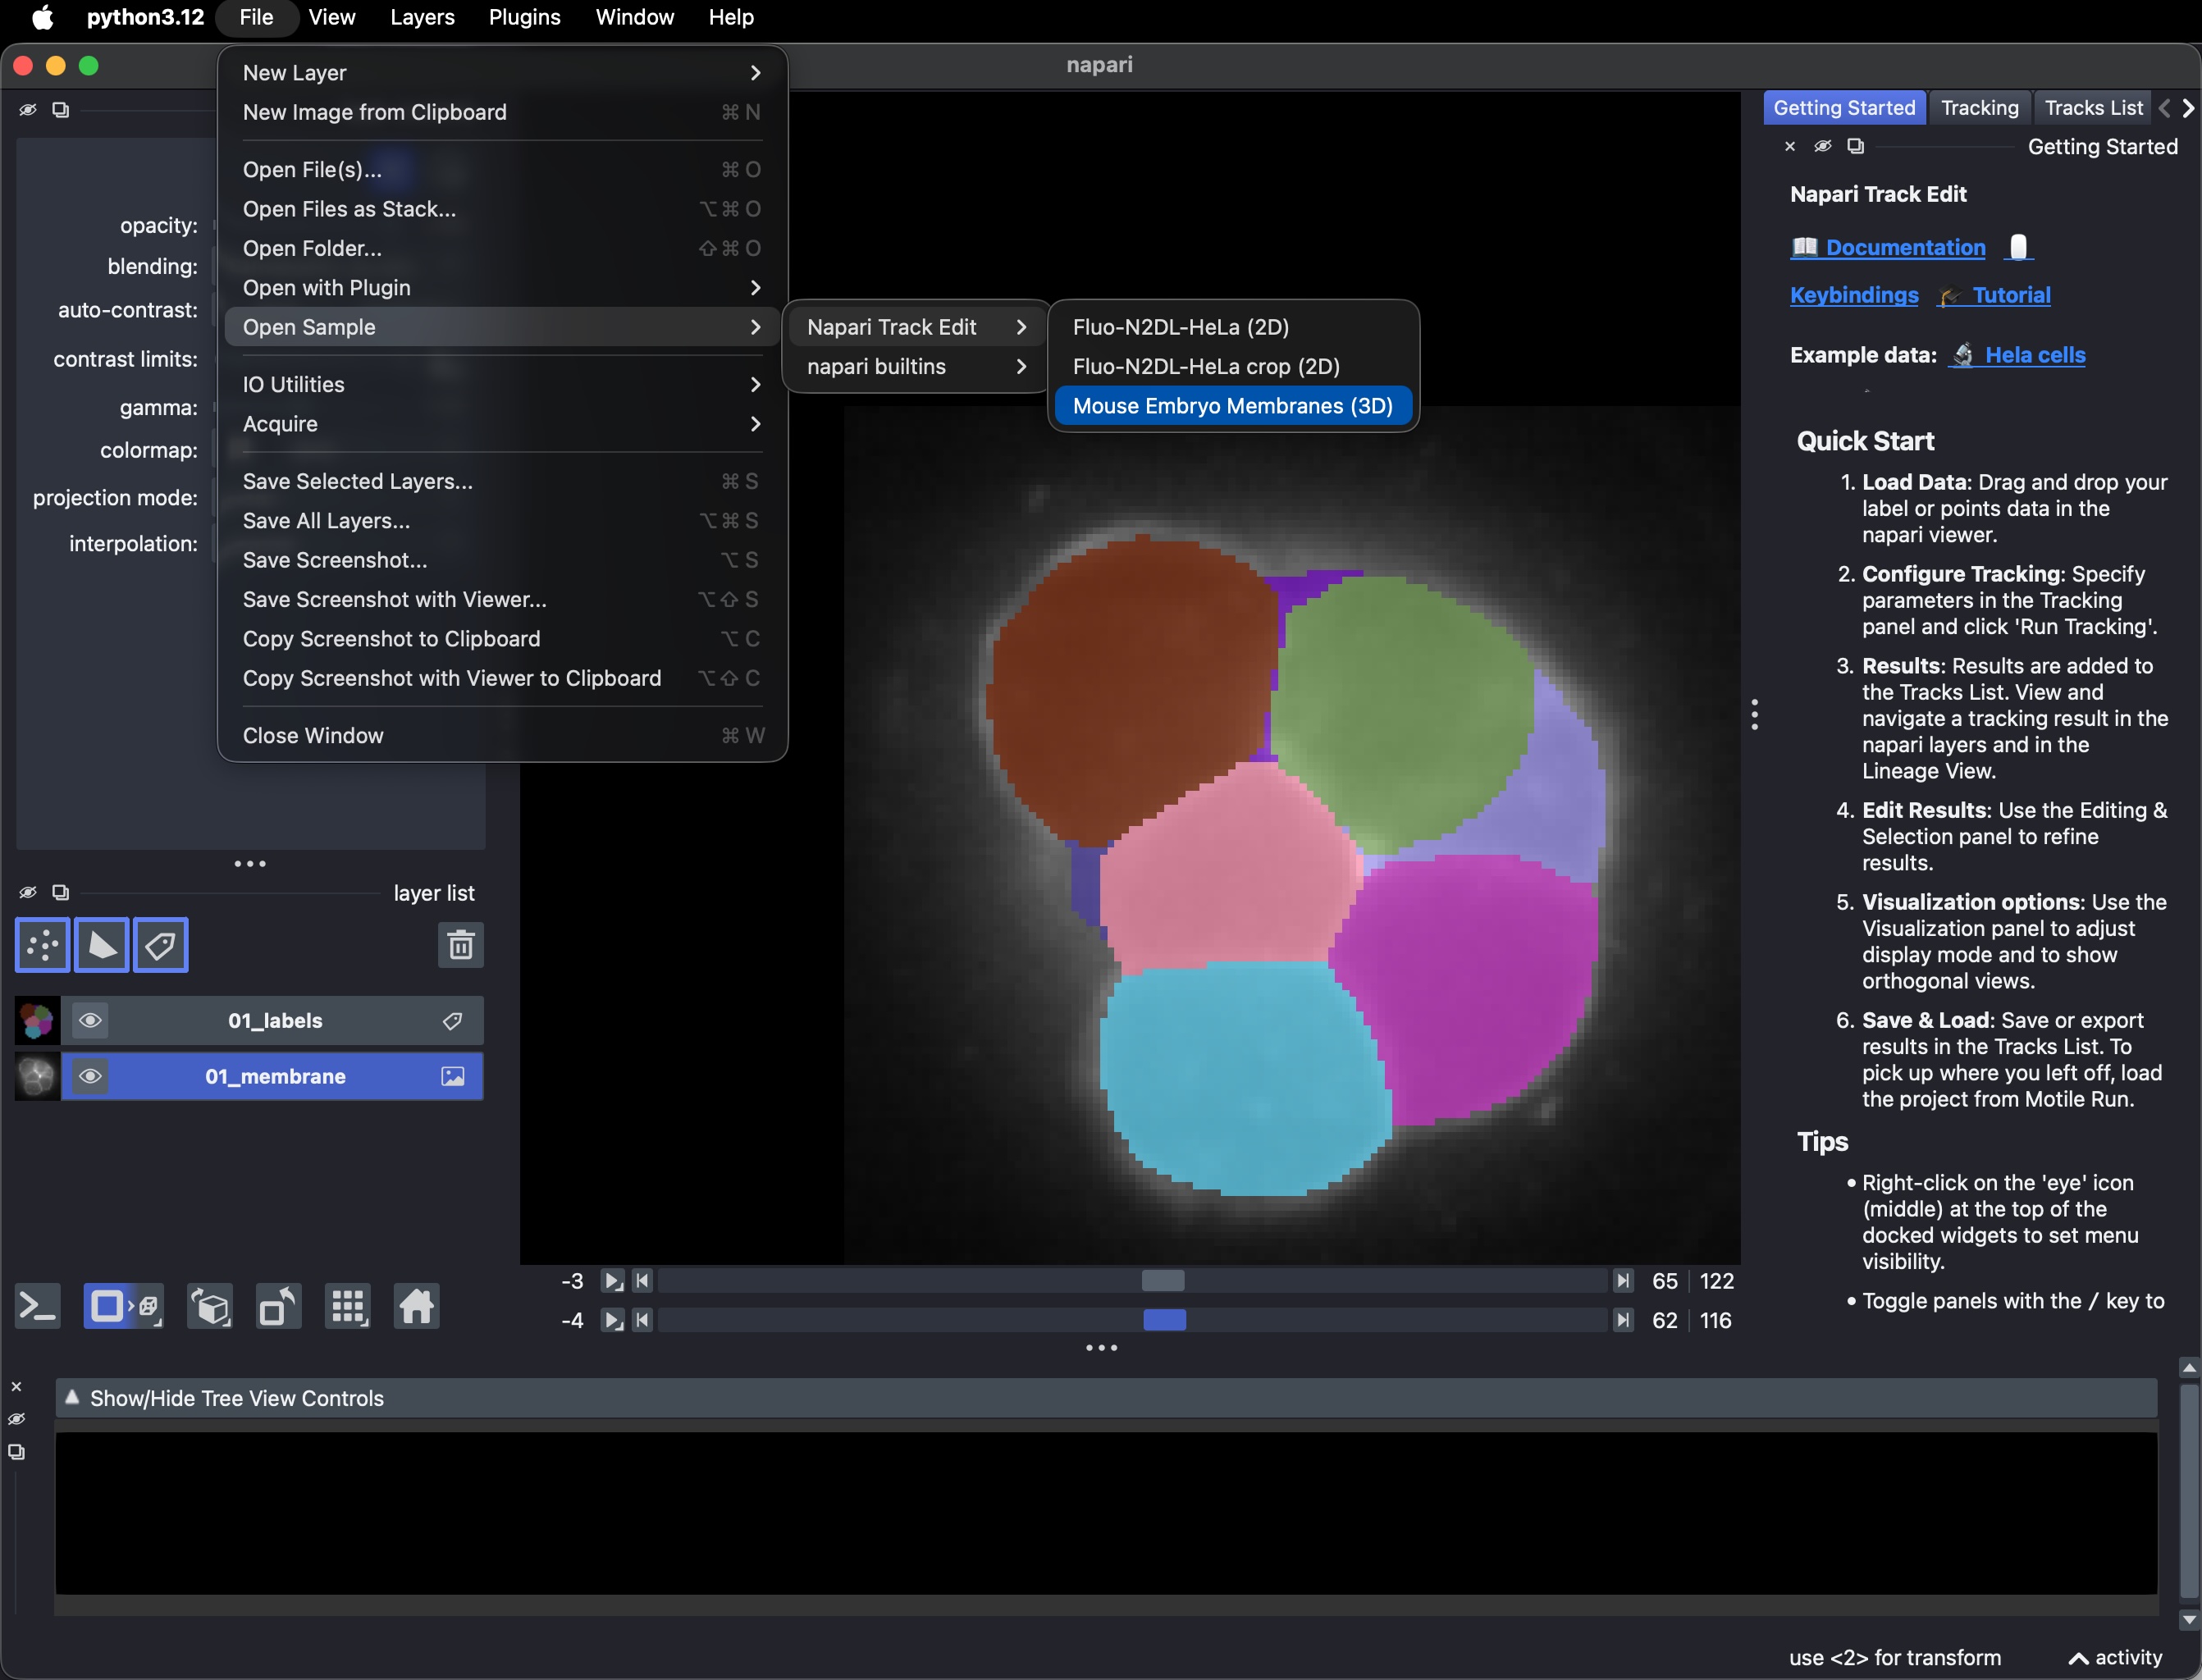
Mouse Embryo Membranes (3D)
These datasets contain images and detections only. To see what a tracking result looks like, open one of the example tracks below, or generate your own tracks.
Example tracks
To get familiar with the tool, it is easiest to look at an example first. Go to
Plugins > Napari Track Edit > Widget - Getting started, and click on one of
the two examples at the top of the widget: HeLa cells (2D) or Mouse embryo (3D).
This adds the raw images to the viewer (downloading them first if needed) and loads
a complete tracking result for them into the Tracks List. The next section,
Viewing and navigating tracks, explains how to explore it.
Tutorial
If you prefer a step-by-step walkthrough with exercises, you can follow the tutorial, which covers most of the functionality described in this documentation.